Free delivery on all orders over €300. Standard Delivery Charge / €10 Read more
How to use cross-tying safely?
Studies have shown that most accidents could have been prevented and the injuries are caused by handler error.[1] Findings revealed a general acceptance of danger and imminent injury during horse interactions. This may explain why some respondents in studies de-emphasise or ‘talk-down’ the importance of safety-first principles.[2]
Before you train the horse to use a tie up system you’ll have to find a safe space to do this. There are a few things to keep in mind to find that spot.
Safety-first!
Together we can prevent accidents while tie up the horse.
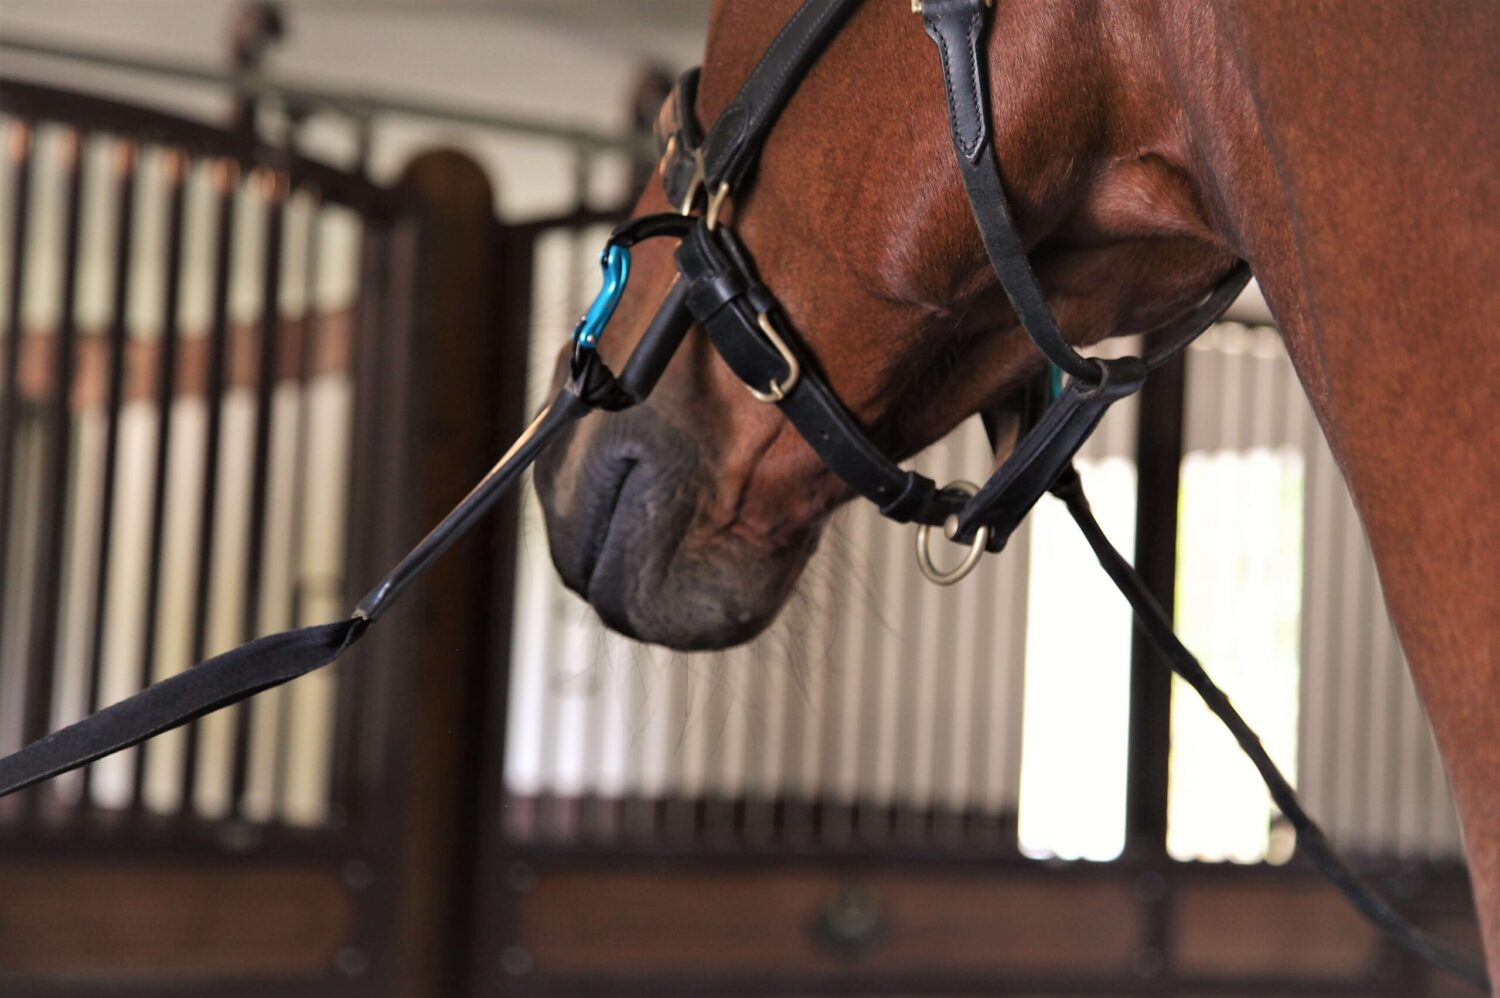
Area to tie the horse
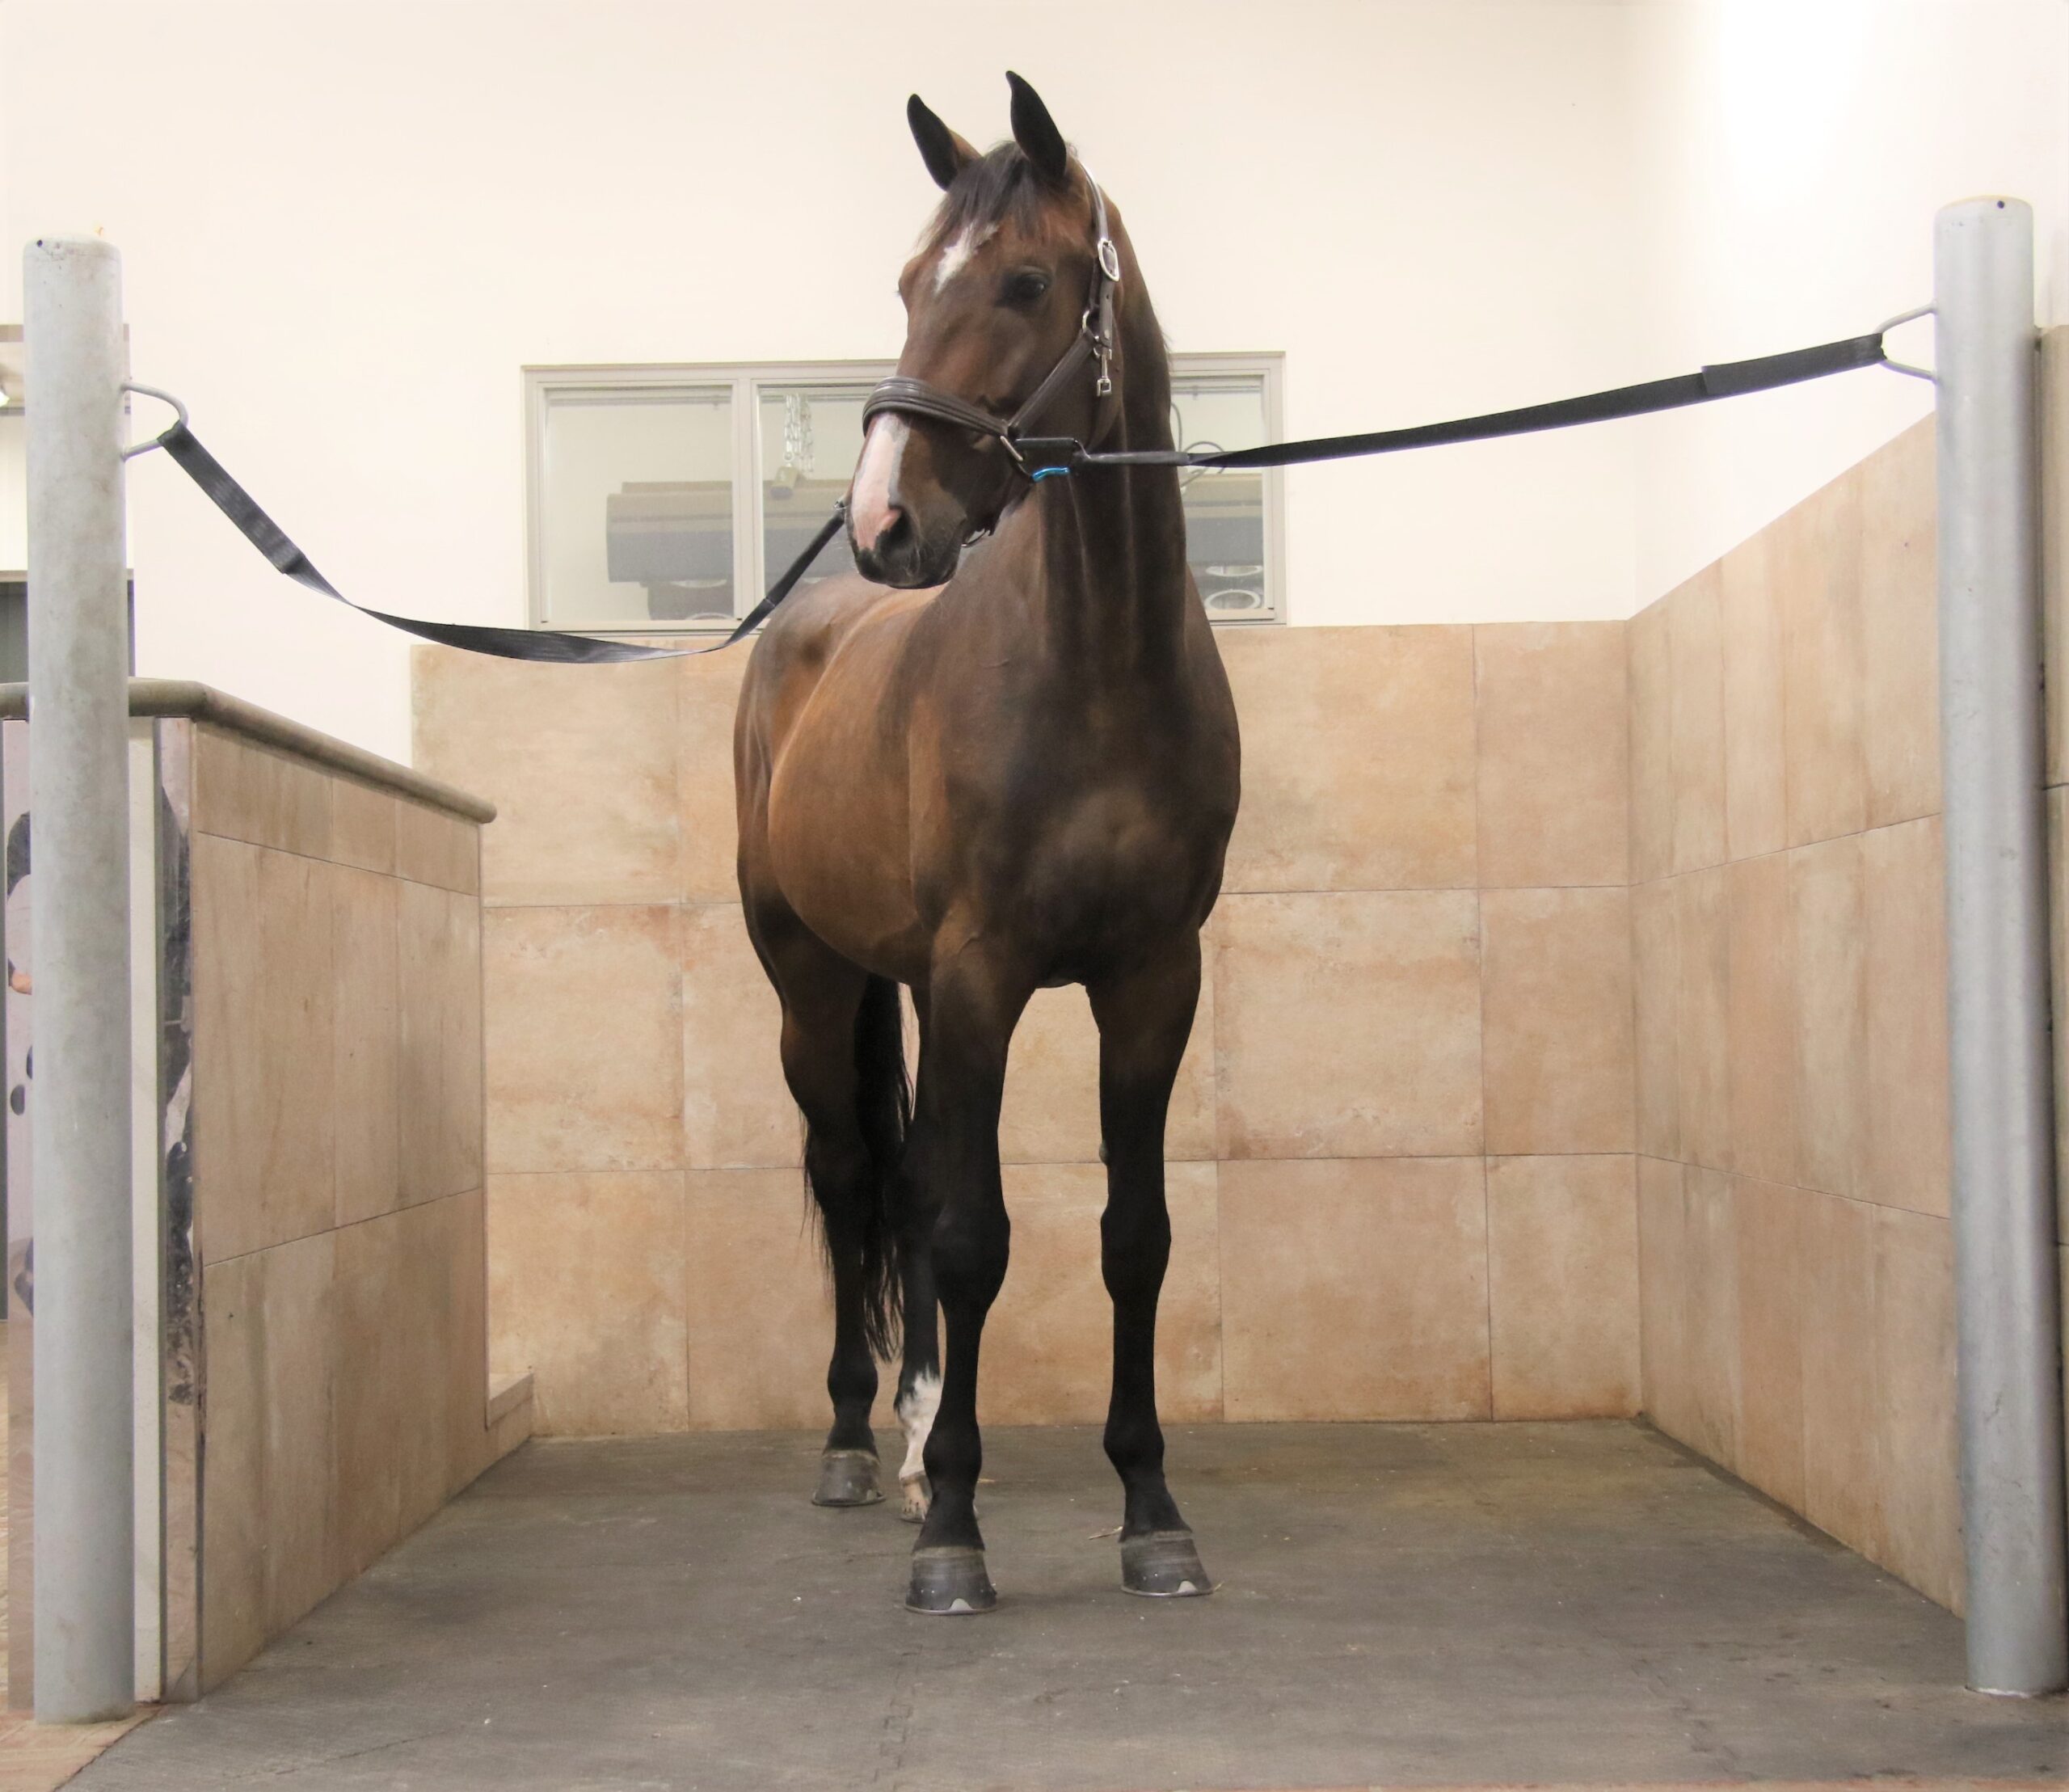
The area must be cleared of any obstacles or potential hazards (such as forks, shovels, brooms, brushes, wheelbarrows, or other equipment).
The area should be wide enough for the horse to comfortably walk into and fully turn around. But at the same time not too wide so that the horse is invited to spin around.
Having a boom in front increases the risk of injury, as the horse can jump over and get hung up. Instead, choose to put the tie up far enough back so that it is not necessary to use it.
A solid barrier behind the horse, like a wall, restricts the horse to move away backwords and is a safer place to use.
Safe footing for the horse

The floor should have a non-slippery surface, such as a rubber floor.
Slick surfaces (such as concrete or stone) can get slippery and create a dangerous situation if your horse loses his footing.
If the rubber floor is ending in front of the hoof of the horse, it should have a lot of distance, so the horse can’t get caught with the shoe when taking a step back again.
If there is a walled edge in front, the horse should stand so far back that it cannot step over and get stuck.
Good fixation of ties
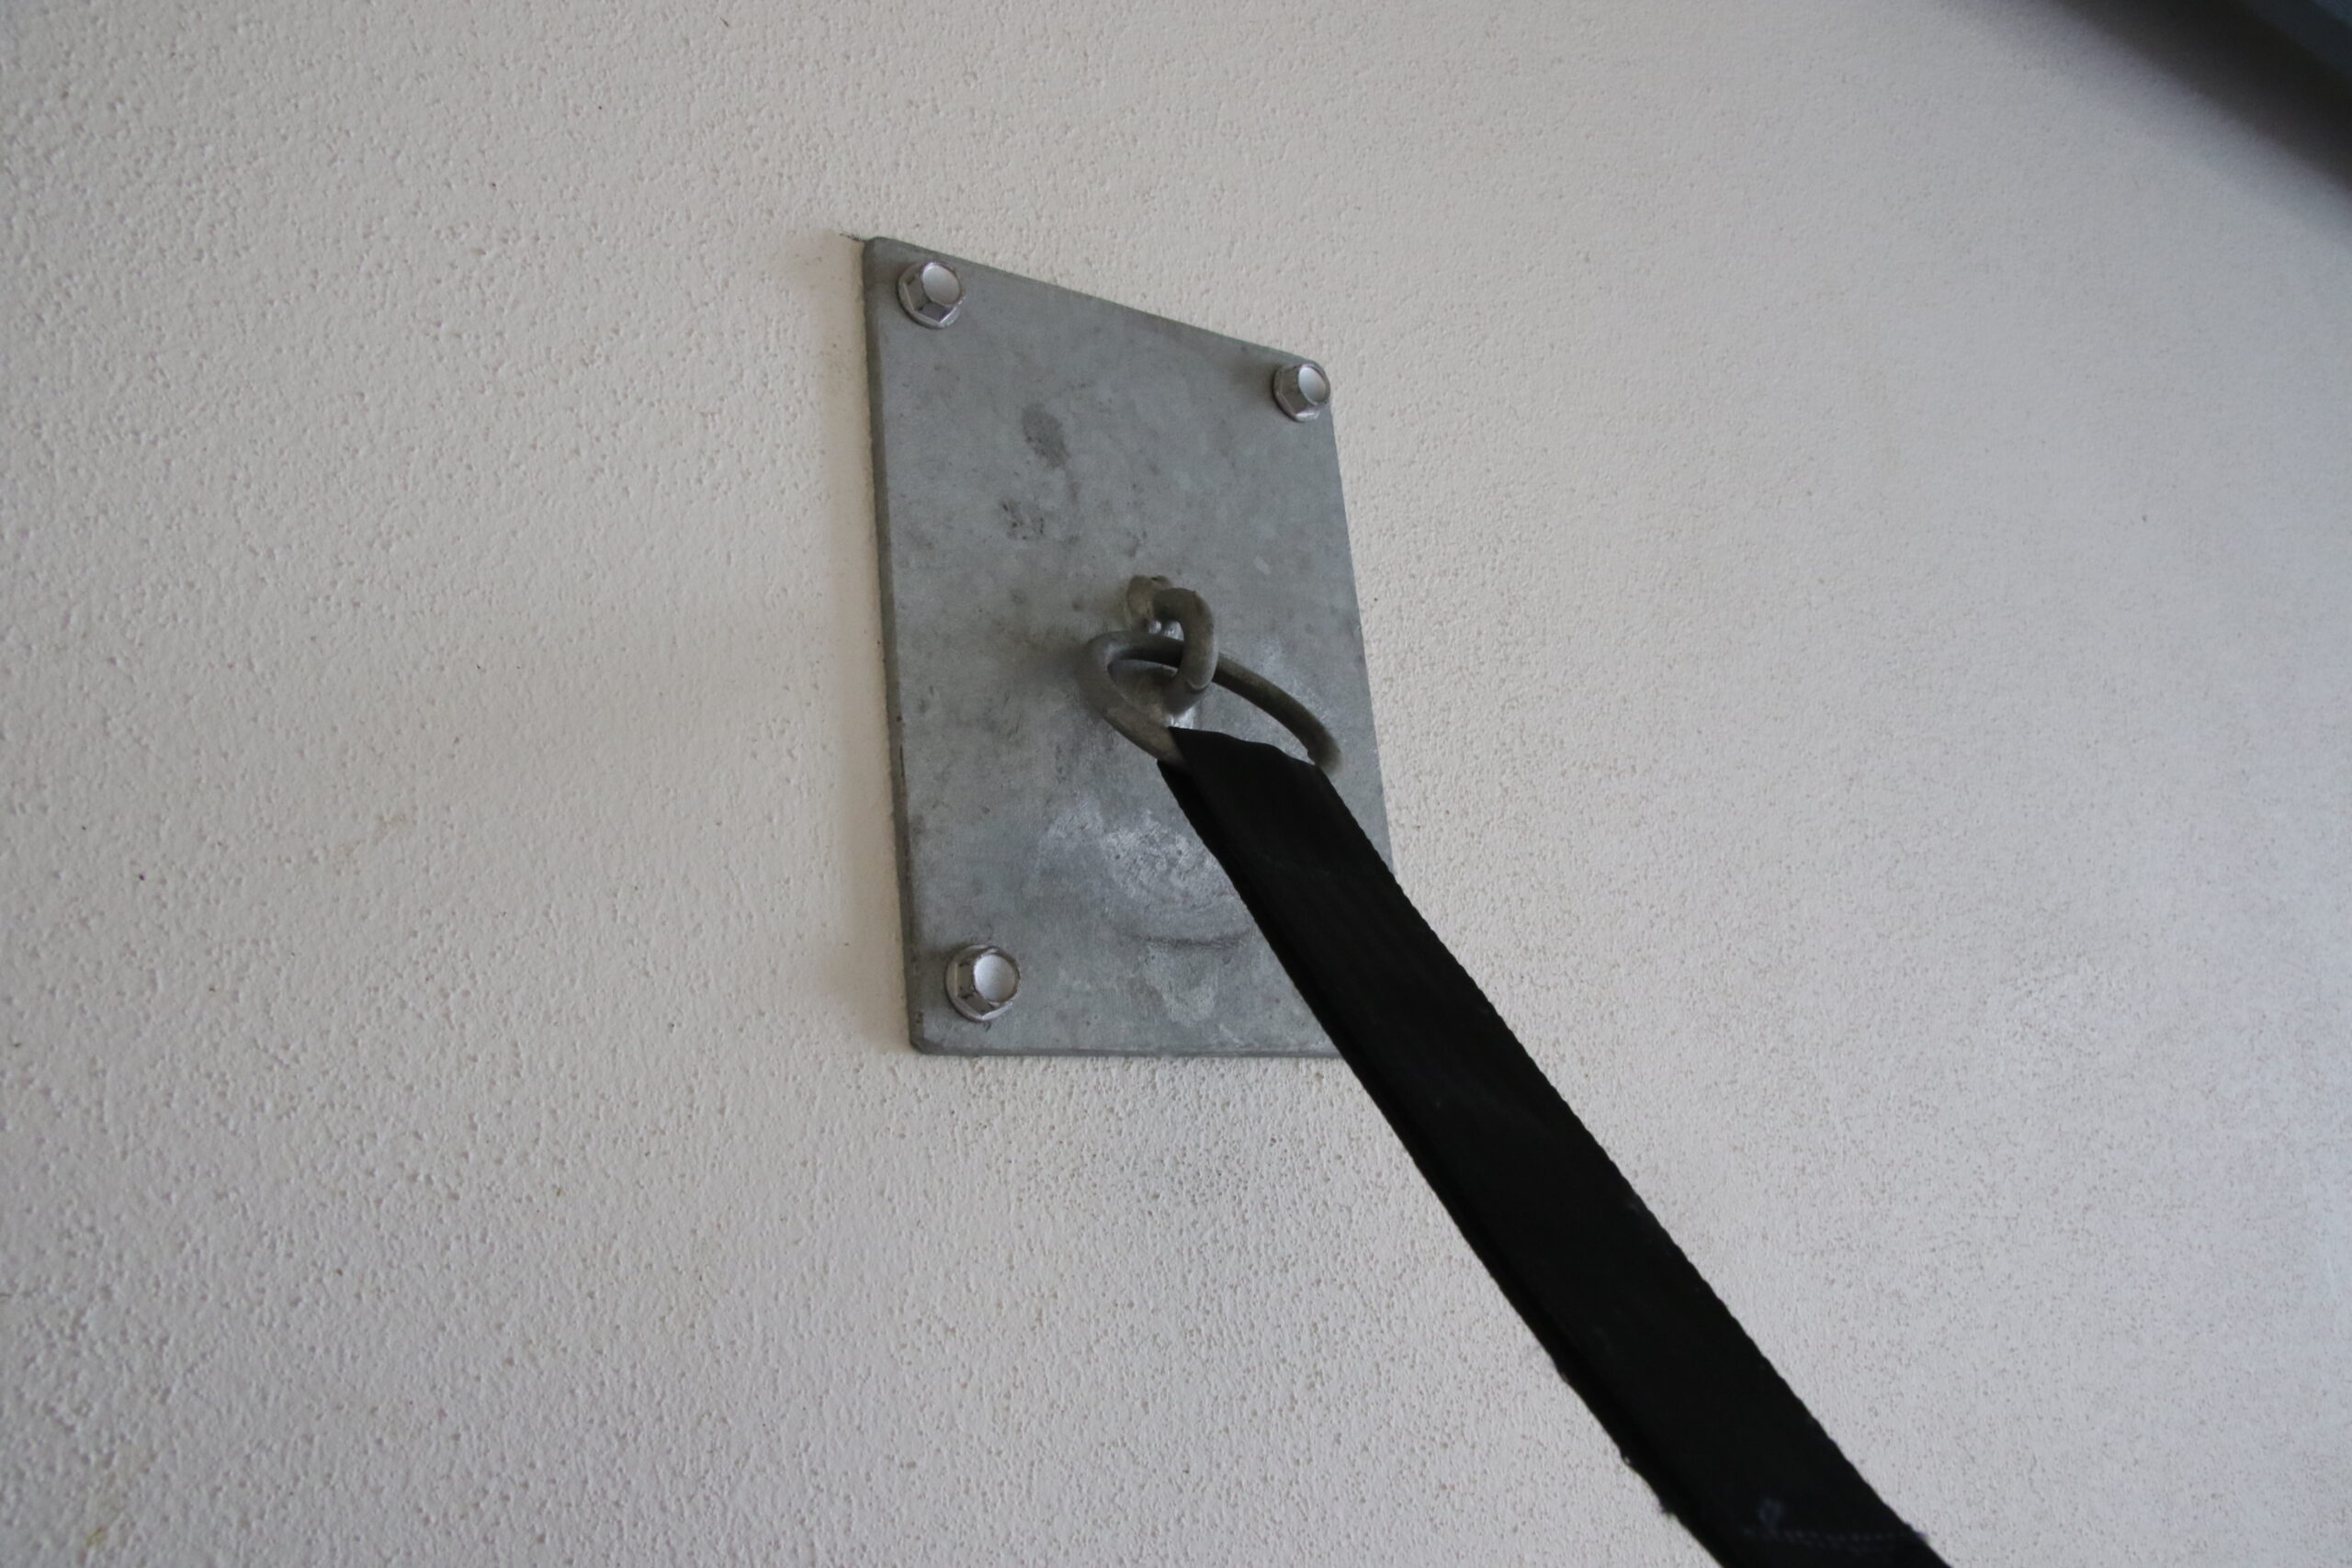
Never connect a tie up system to something that is movable (like a stable door).
Accidents have occurred when horses, without proper safety tie up systems, have been tied up in stall doors and, in a panic attack, have become untied and dragged around on the door with devastating consequences.
The eyebolt, rings or bars must be fixed so it doesn’t break away.
The use of tie up, without a good safety system, has resulted in numerous injuries to both horses and humans due to the recoil force that occurs when the tying ring is released from the wall, or when the carabiner breaks.
Accidents have i.e occurred when the horse is attached to a beam that’s not solid enough, and the force from the horse made the beam collapse over the farrier resulting in a hospitalisation.
Height of horse tie-rings

The tie-rings should be attached to the wall or post at a distance higher than the withers of the tallest horse.
Length of the ties for horses

The length of the ties should be just long enough to prevent your horse from getting tangled up or turn around, still being able to have a range of motion of the head and neck.
Take into account the:
– Width of the maintenance place.
– Height of the connection hole/ring.
– Horses movement needs.
– Height of the horses head.
– Location in the halter/headcollar where you want to attach the carabiner.
If possible, adjust the cross-ties so if the horse backs up, it’ll hit the wall before the cross-ties tightens.
A little bit of movement is necessary for the horse to communicate what feels good. This will prevent the horse from feeling unneccessary restricted, trapped and starts to panic.
High quality and safety parameters

Make sure the tie up solution is as light as possible and of good quality so it opens in the right places.
For instance, accidents when the horse is panicking and the heavy and stiff tie up solution breaks away from the wall, the tie up projectile can break the nose of the handler or hit the horse in the eye.

The halter should have a wide surface on the neck and be in good quality and you should always close all the buckles, so the throat snap doesn’t hurt the horse in the eye when they shake their head.
The ties themselves should consist of a non-elastic tie without a flexible, elasticated tie up, so as not to create an unpleasant bungy effect when the horse puts pressure on the tie-up.
Some horses push on with much power in the flight reaction. If the crossties does not release at the right pressure, the horse may experience such resistance that it loses its balance. Horses have accidentally broken their necks in this way, crushed their withers, pelvises, injured their hamstrings (semitendinosus, biceps femoris) etc.
If you see someone using an old-fashion baling-twine directly tied to the halter, please make sure it’s removed, so the loop doesn´t get caught in other items so horses don’t break their necks or jaws.

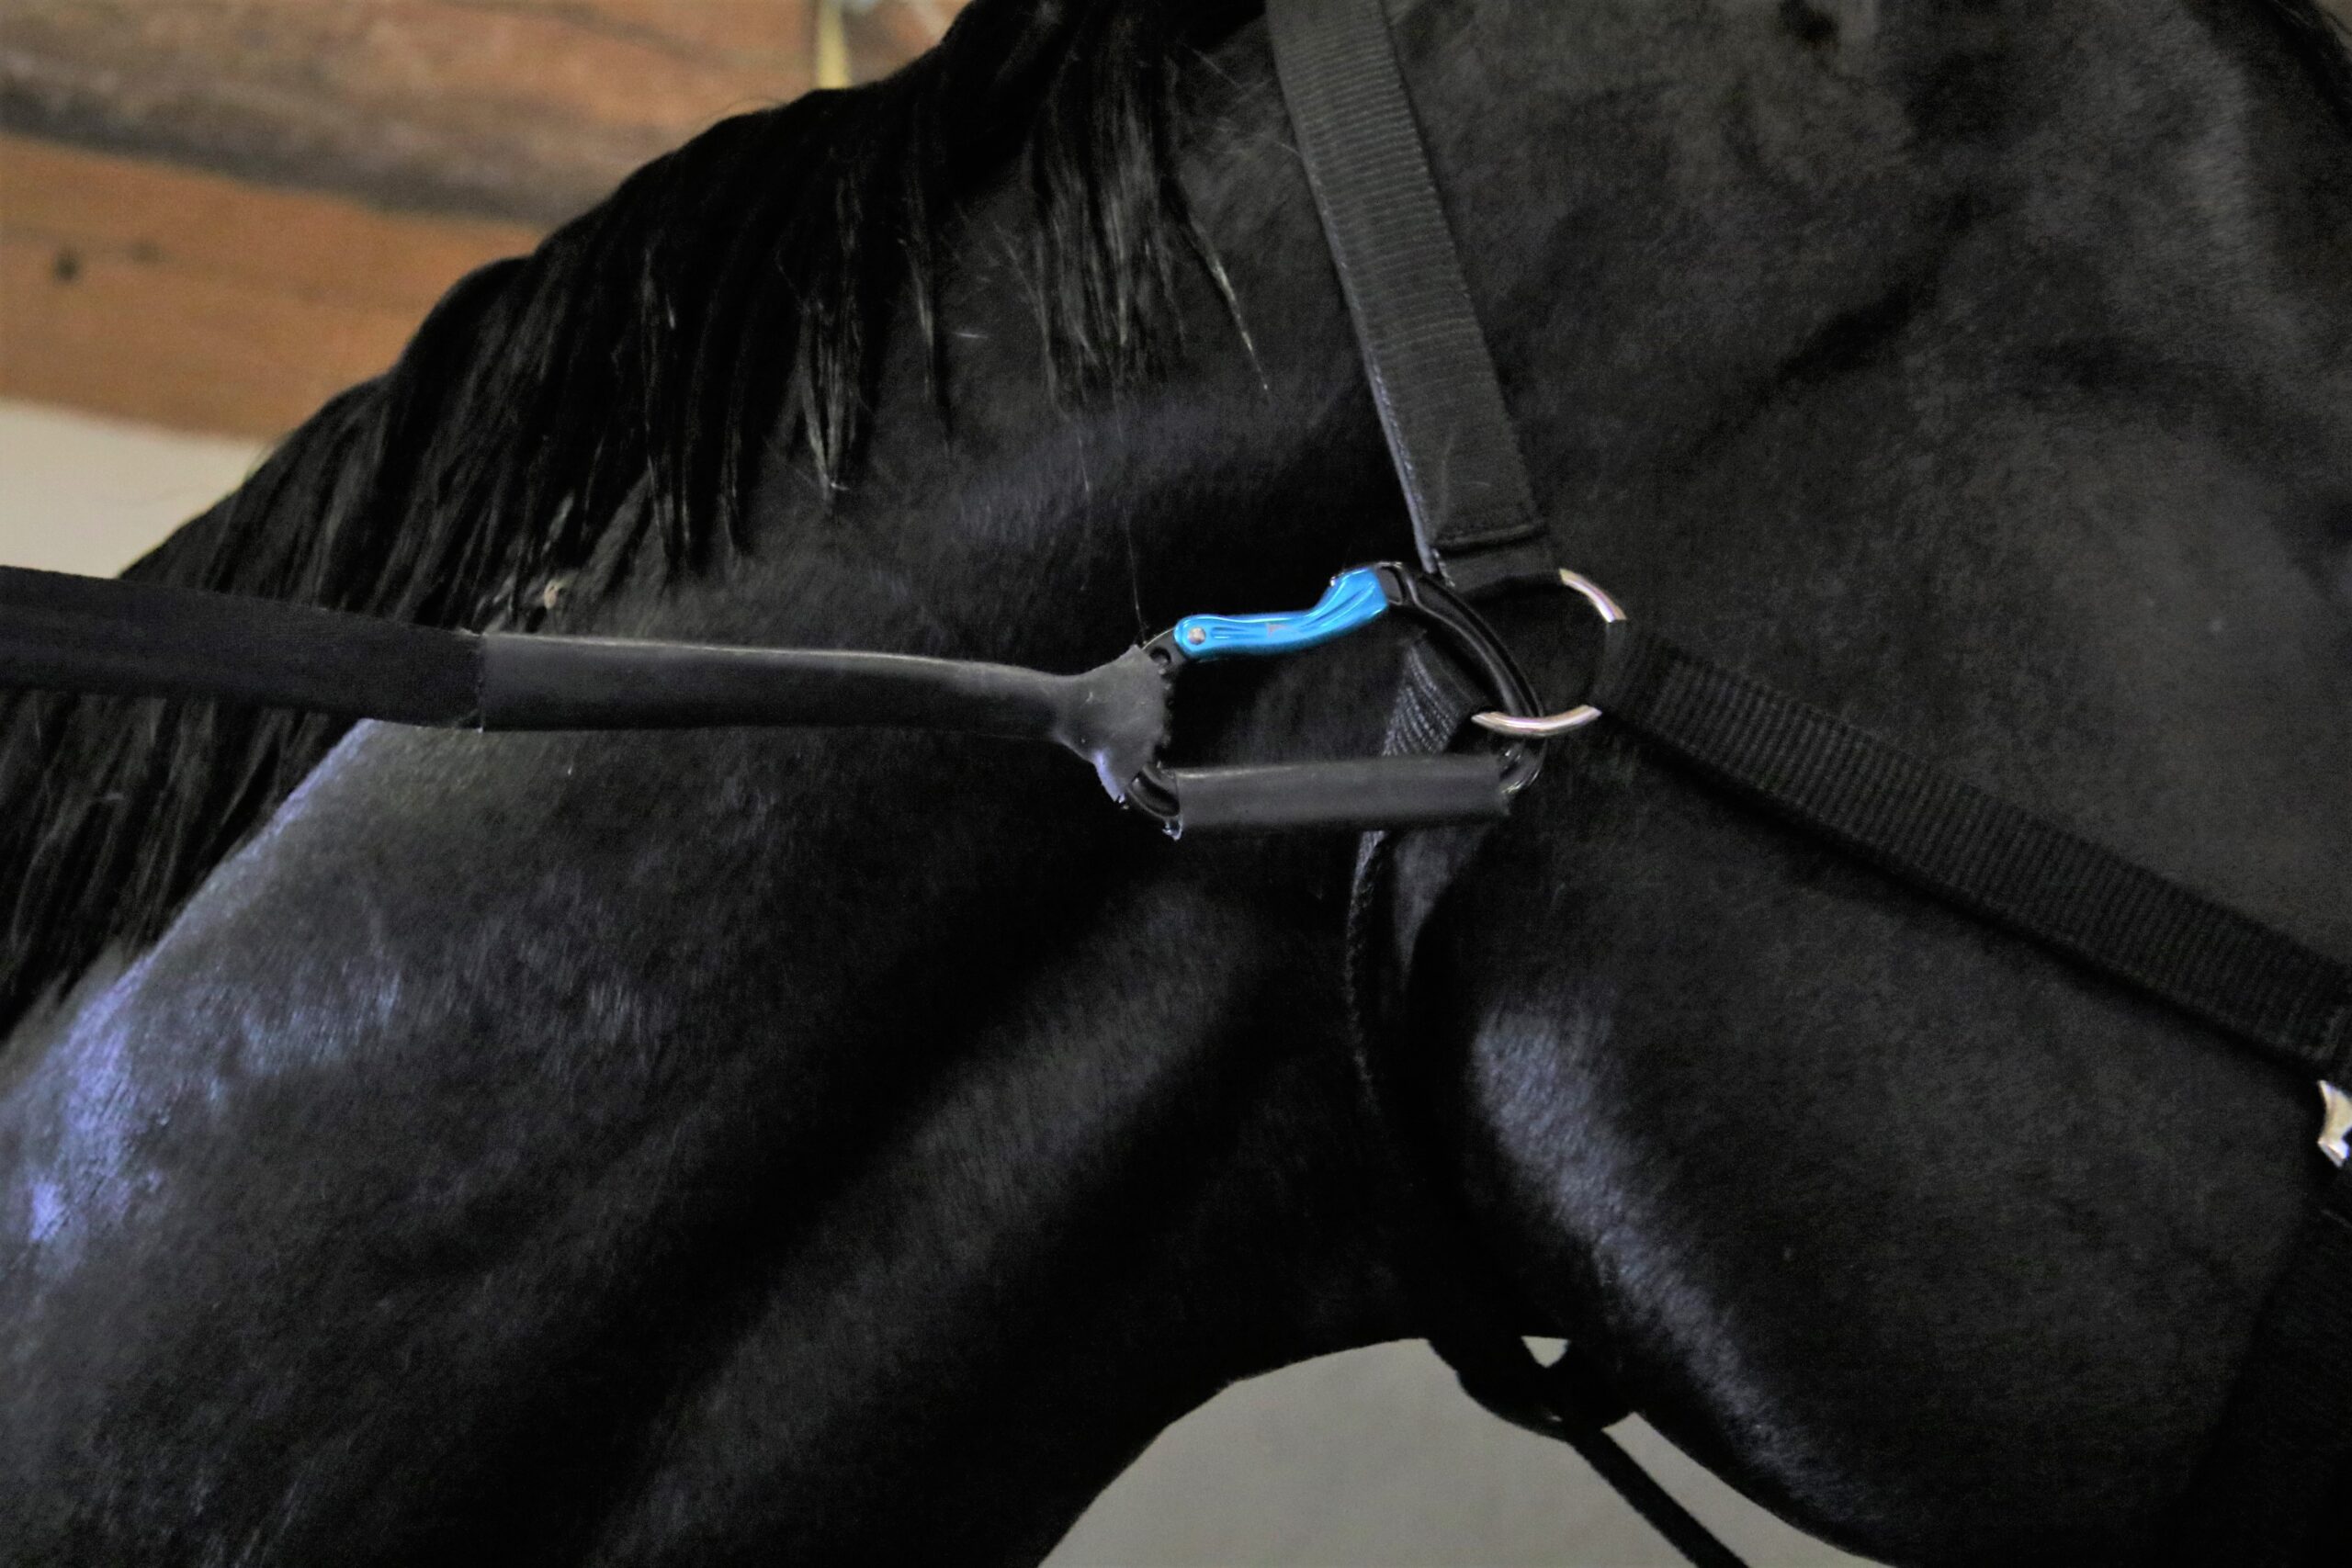
Make sure the carabiner has just soft edges.
You don’t use old-fashioned with sharp edges so the horse get cuts and damage on sensitive areas such as eyes or mouth, do you?
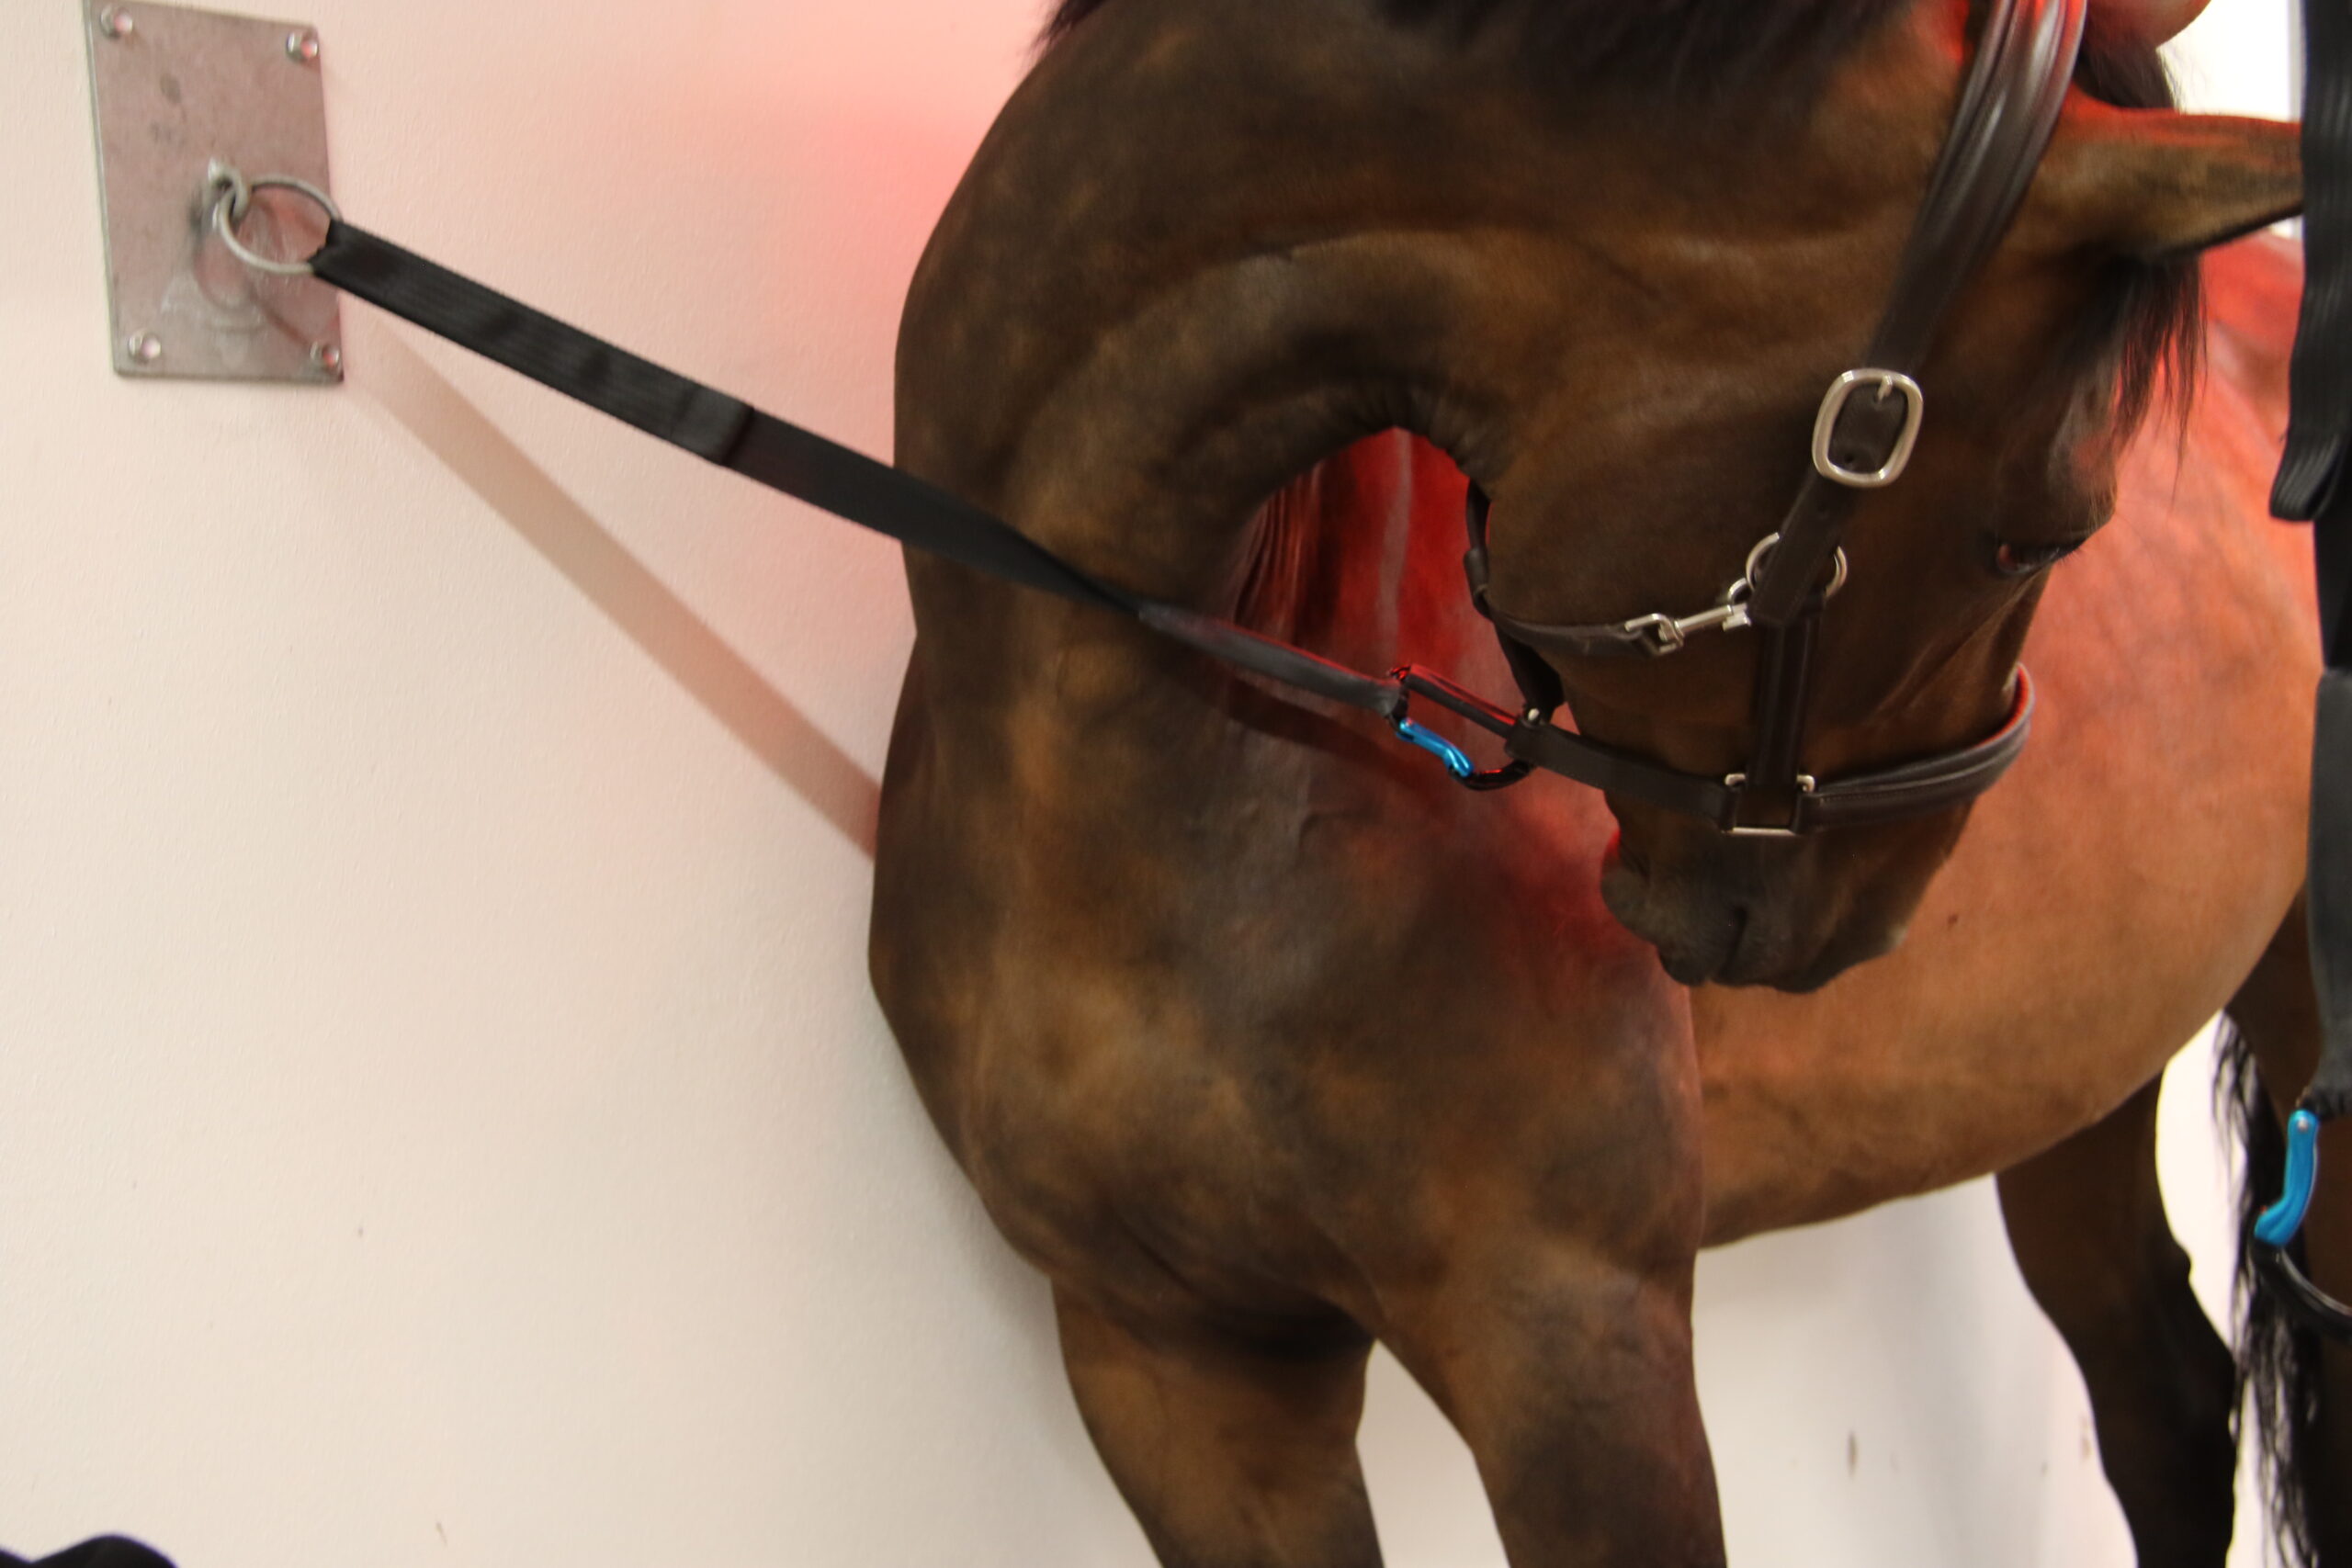
It is important to have a tie up system where the horse and halter is connected in good way.
Even though the horse moves around and fiddle with the head.
Make sure the tie-up does not release too easily where the horse gets loose with just a sharp head turn.
Reliable and strong hold
(90 kg)&
easy to open by hand
(<0,9 kg).
If the panicked horse is freaking out in the cross ties – it is not safe to release any quick release snap if it is attached close to the halter.
It is better to be able to use a automatic releasing system where you have a safe distance and doesn’t have to be close to the horse to release it or fiddle around with a knife etc to get the horse free.
A number of people argue that the horse should not be able to get loose when in fear, but we have another opinion.
The horse must be able to get loose in a real panic situation, without hurting itself or its surroundings.
For most of the horses, a release pressure around 90 kg is good. But for foals and smaller horses other levels are more appropriate.
Easy installation
after panick.
Where in the halter should I attached the tie-up?
When using a crosstie, the horse should be centred in a grooming/washing area, providing easy access to both sides of the horse.
Some horses like being tied by a single tie system better than crossties, but if they are relaxed, they adjust.
Each horse is different, and some horses accept being cross tied and for others it takes a bit longer to get comfortable with it.
Like many of the things we teach our horses, cross tying comes with a risk, instilling fear or bad behaviours and can lead to scary situations if it isn’t done properly.
So, make sure you take as much time as necessary to train the horse to have a good behaviour.
If a horse pulls back, flips over, or hurt itself when tied up they will remember that experience, and takes a lot more time to teach and show the horse that being tied up is actually a great place to be.
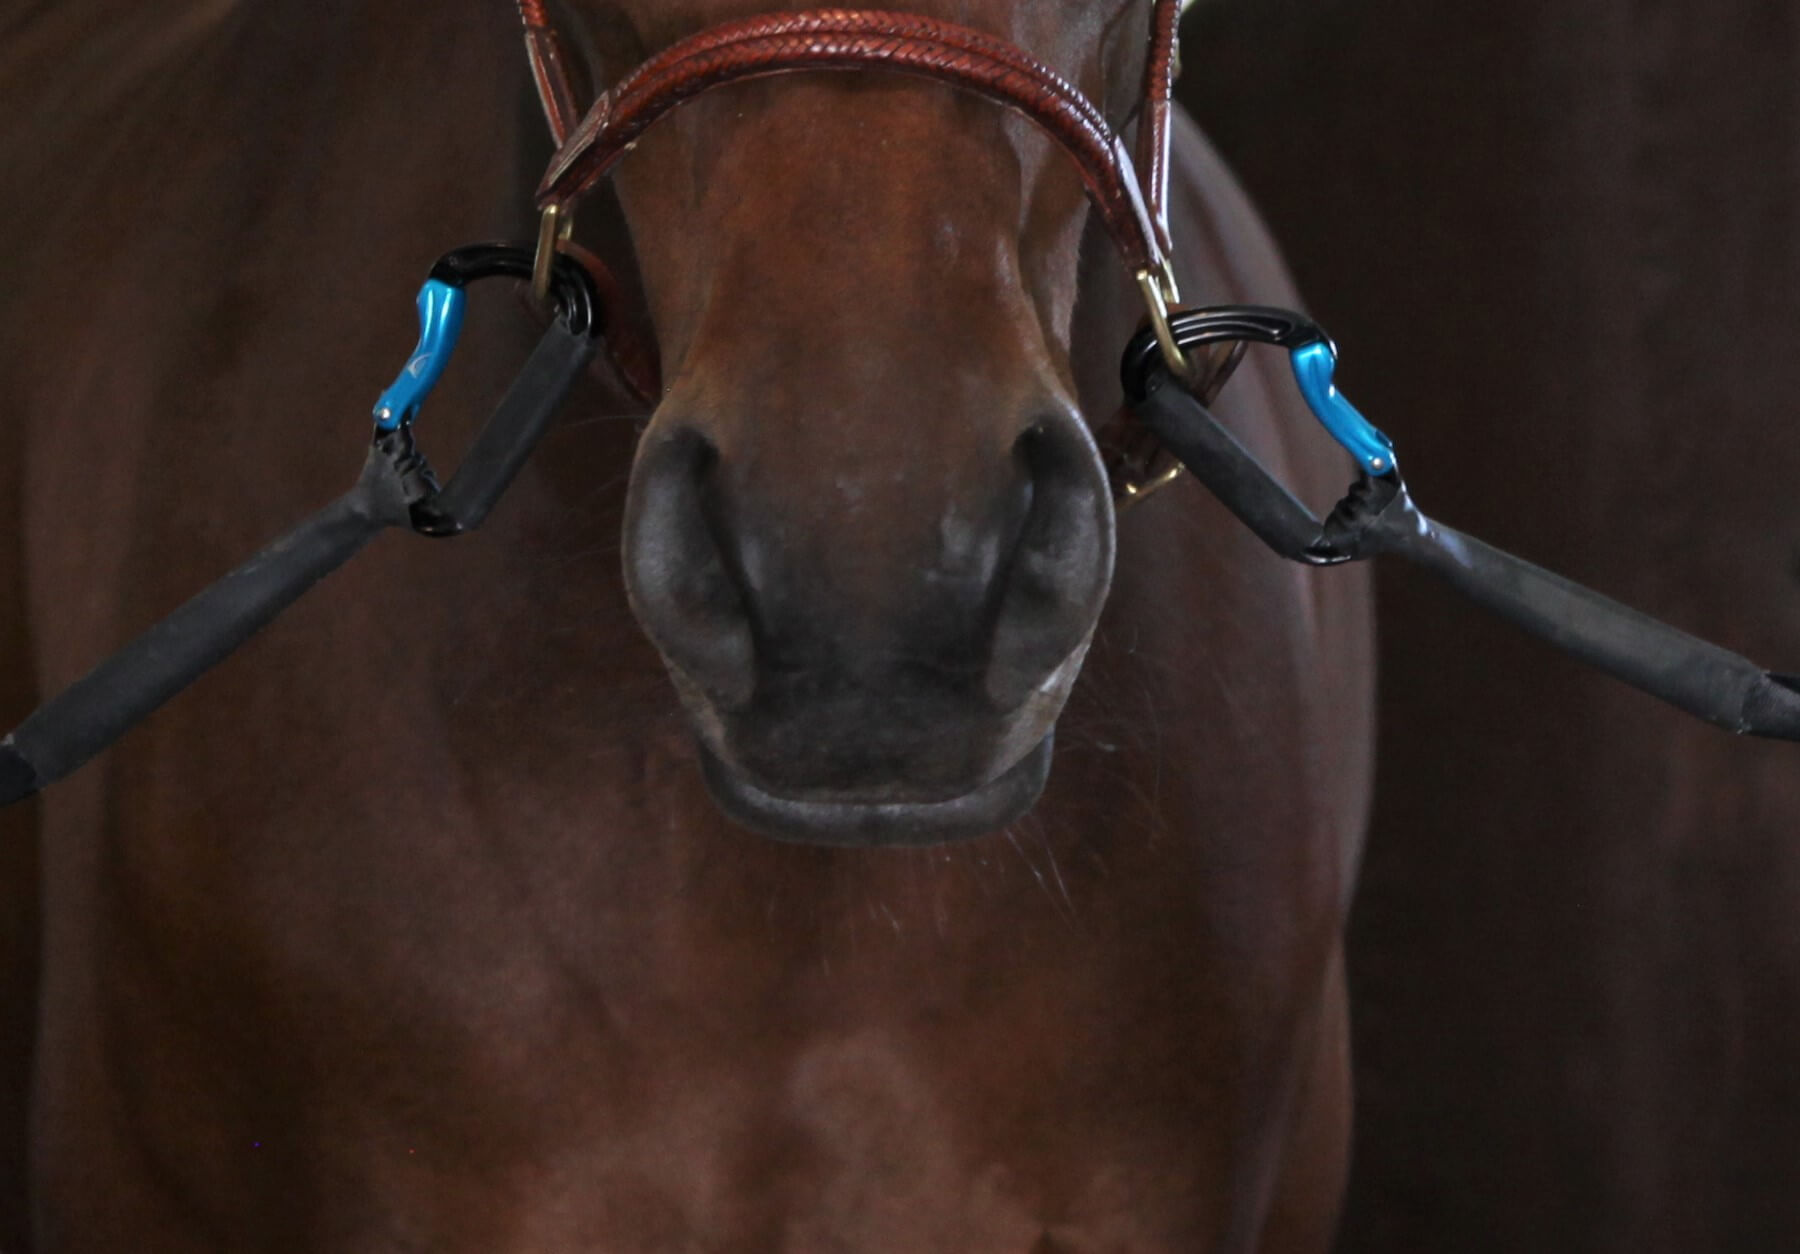
The lower cheek piece is the most common place to attach the tie.
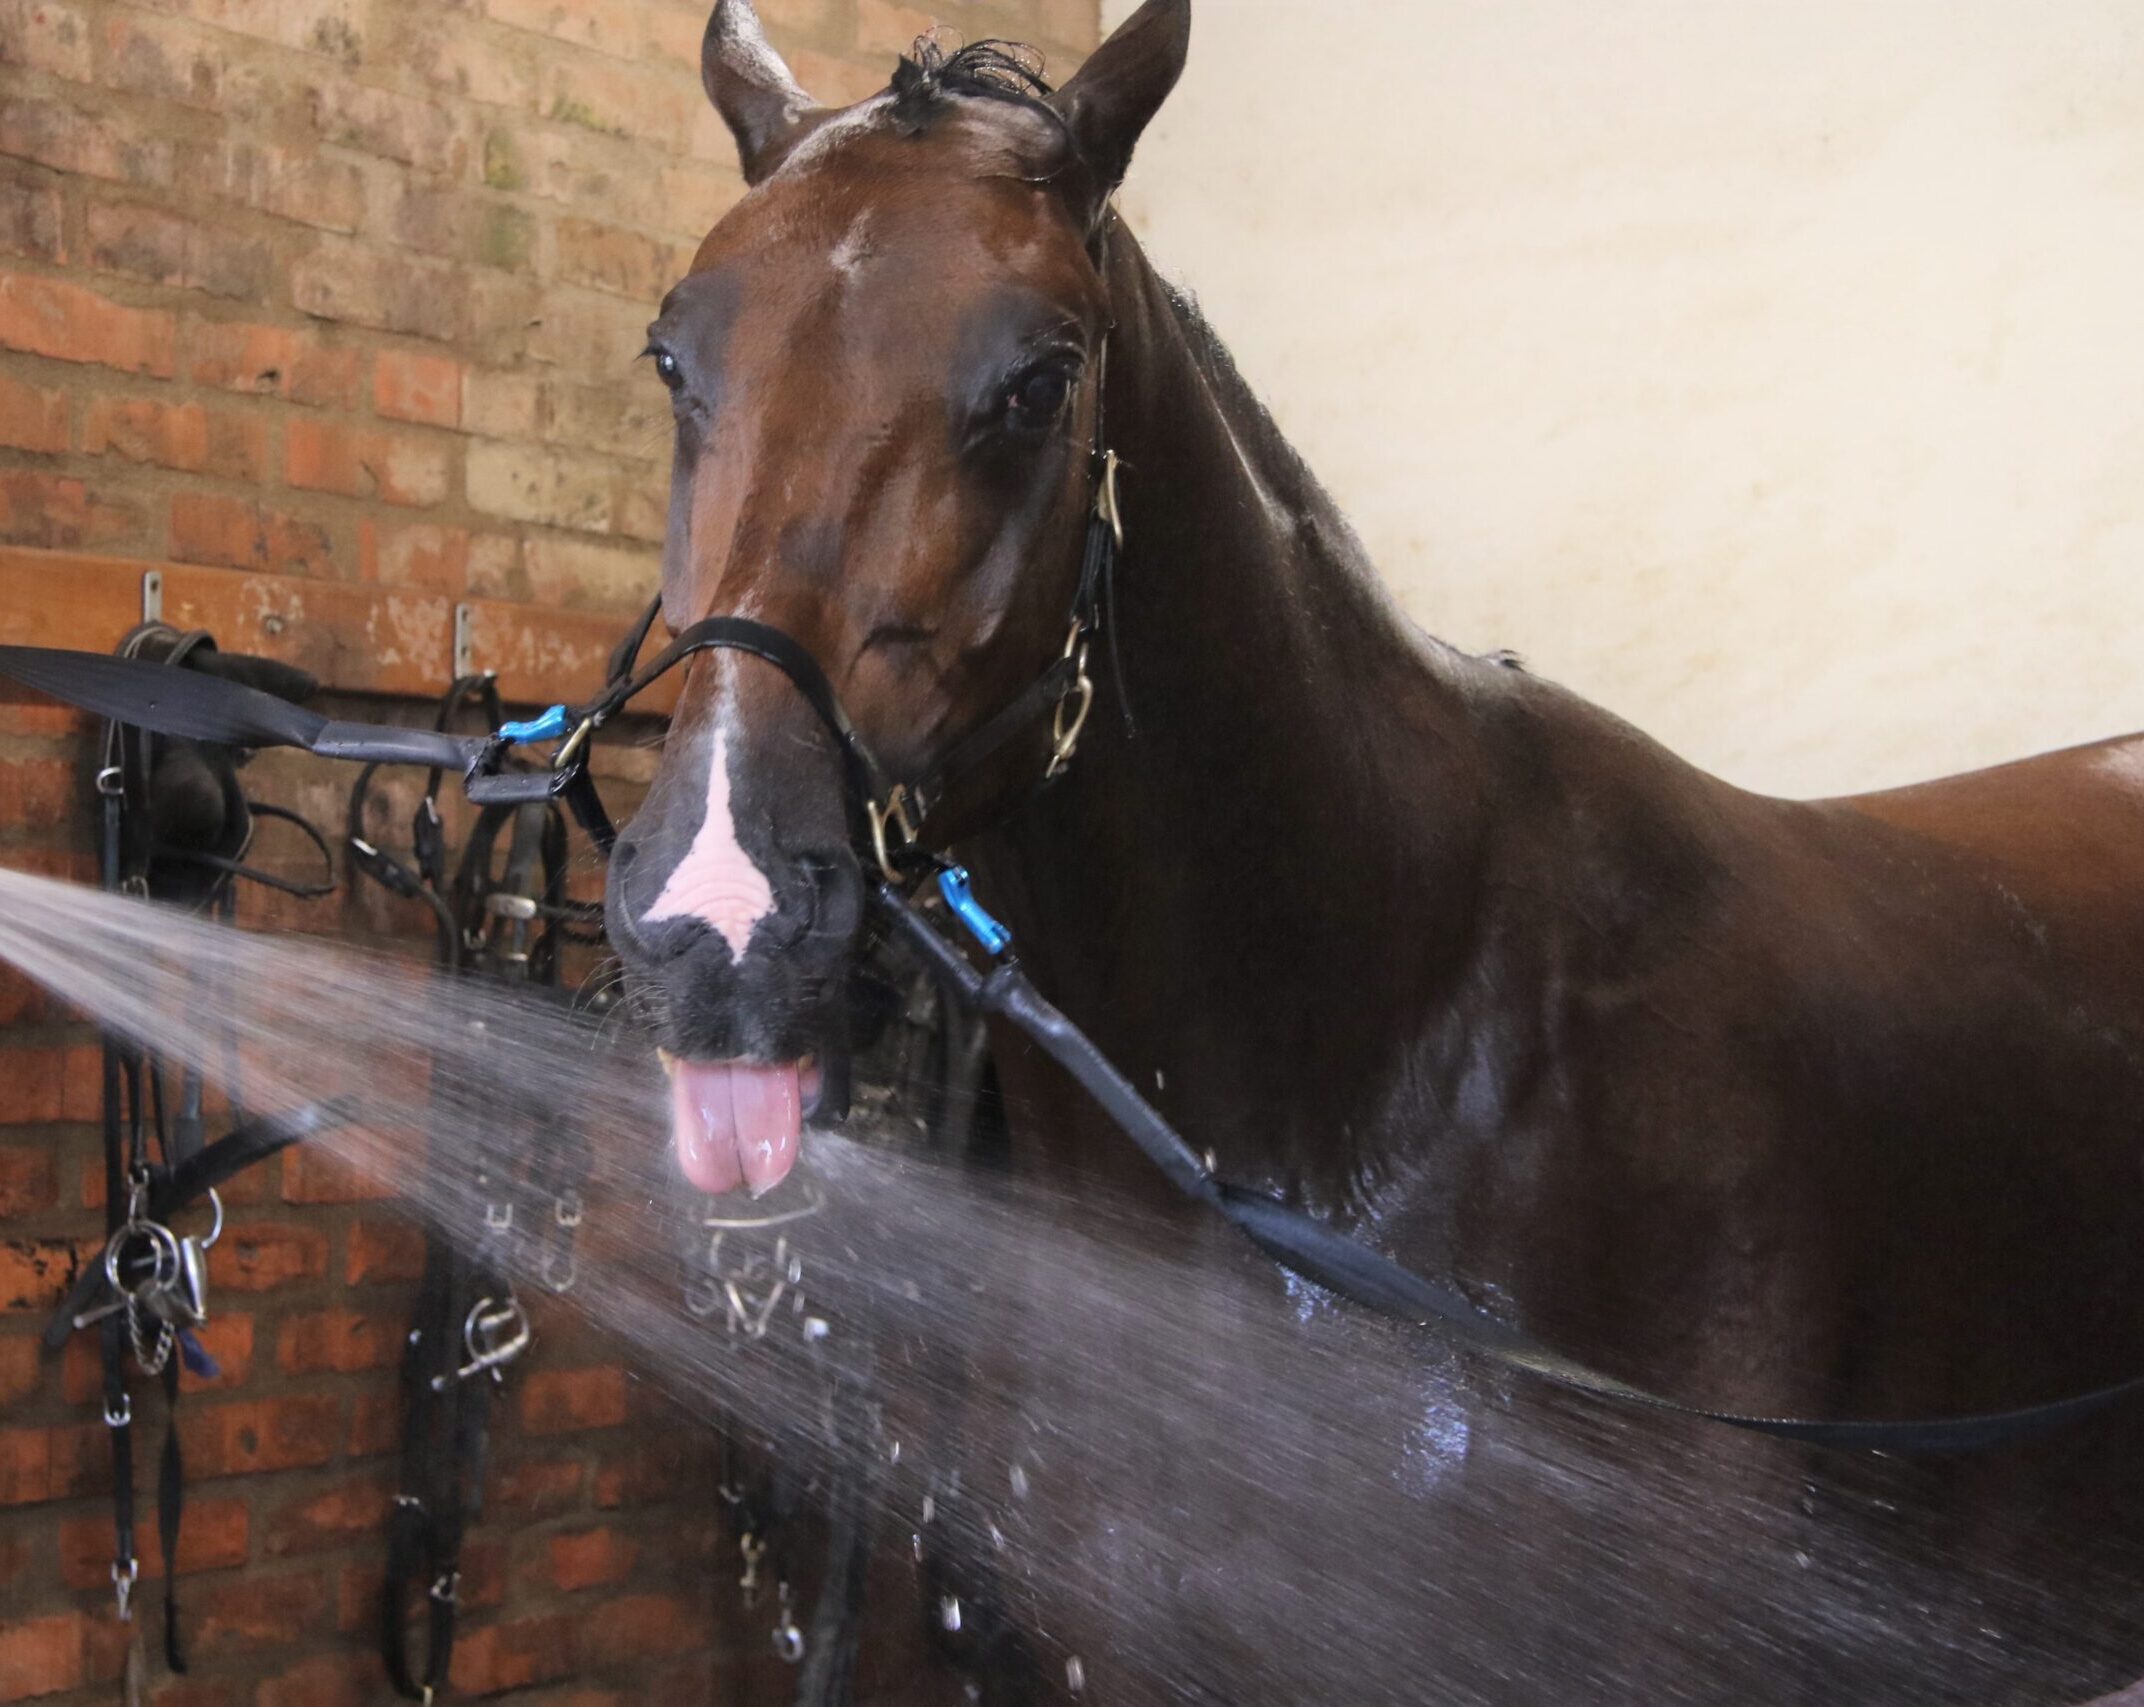
But for easier handling and for horses that have different behaviours like crib-biting etc, it might be better if the tie is attached to the higher halter rings closest to the neck.
If the horse would rear, it is not as easy to accidentally get a leg over the crosstie.
The person does not need to bend over/lift the ties as much when crossing under and the horses don´t bite the ties as easily.
However, the horse can turn its head more and can also develop more power from side to side.
Recommendation to tie the horse in the higher halter rings, as long as a smooth carabiner is used.
Hang up the halter/headcollar

Preparation of the tie up
Make every experience in the crossties as brief and enjoyable as possible for the horse.
So before taking the horse out, organize all the tack and equipment next to the crossties so the horse doesn’t need to be left alone during the tie up.
When the horse is relaxed when doing work on the ground, it contributes to building a foundation that allows your horse to relax when tied up.
The training of the horse to crosstie can start when the crossties is safety installed in the stable/barn.
If you just tie them up and walk away before they have the skill and manner, they might panic or pull back and hurt themselves. So, make sure they are well prepared for the crossties.
Handling horses is considered more dangerous than other types of sports. Handling an animal that weigh 500 kg or more, can kick with a force of nearly 1 ton and run at speeds of 65–75 km/h is definitely a challenge. In addition, horses are less predictable than a motorcycle or a race car when the flight response kicks in.[3] Horses ridden or handled by male humans are less likely to brace the neck or toss their head, according to a modern Equine Behaviour studies. [4]
When the horse has “ants in their pants”, going into tantrum, “throwing a fit”, have a temper tantrum or emotional outburst – they will either pull back, struggle violently against the pressure the halter exerts on their polls or go into flight mode and fly forward until they have escaped.
The head is vulnerable and has prominent bony areas with little overlying tissue can get force-related tissue damage. When using a good tie up system, the horse will neither hurt themselves, their surrounding or the halter/headcollar.
Learning how to stay calm while tied up makes the grooming and handling experience much safer and easier for both the horse and the handler. Horses should learn how to stay relaxed and be tied up because it’s a good and important piece of foundation training.
The ability to let the horse stand free and stay with confidence is a skill that not all handlers possess. As with all horse training, there are basic steps that will help the horse to change the mindset when it comes to standing and waiting. On the way to develop this art, it is wise to tie up the horse in a safe way to not injure themselves or the handler.
A traditional crosstie setup has two ties attached, one on each wall. The ends of the ties have carabiners, which are fasten to the horse’s halter on each cheek piece. The result is the horse held in place by two lines.
It is our inescapable and desired responsibility to ensure the wellbeing of the horse and optimize the management and care.
Together we can
prevent accidents.
References for further information
[1] Horse-related injuries: Causes, preventability, and where educational efforts should be focused ; Fernanda Camargo, William R. Gombeski Jr, Polly Barger, Connie Jehlik, Holly Wiemers, James Mead & Amy Lawyer | Pedro González-Redondo (Reviewing Editor) (2018) , Cogent Food & Agriculture, 4:1
[2] What People Really Think About Safety around Horses: The Relationship between Risk Perception, Values and Safety Behaviours; Meredith Chapman, Matthew Thomas, Kirrilly Thompson, 2020 Nov 26;10(12):2222
[3] Ten years of major equestrian injury: are we addressing functional outcomes? ; Ball, J.E., Ball, C.G., Mulloy, R.H. et al. . J Trauma Manage Outcomes 3, 2 (2009)
[4] The Impact of the Sex of Handlers and Riders on the Reported Social Confidence, Compliance and Touch Sensitivity of Horses in Their Care ; Anzulewicz, A.; Fenner, K.; Hyde, M.; Heald, S.; Burattini, B.; Romness, N.; McKenzie, J.; Wilson, B.; McGreevy, P. Animals 2021, 11, 130.
